Arietta PRO001MX30 Instruction Manual Page 8
- Page / 47
- Table of contents
- BOOKMARKS
- PRO001MX 30 PRO001MX 36 1
- English page 2 2
- Spanish page 25 2
- Table of Contents 3
- Important Safety Notice 5
- ELECTRICAL REQUIREMENTS 7
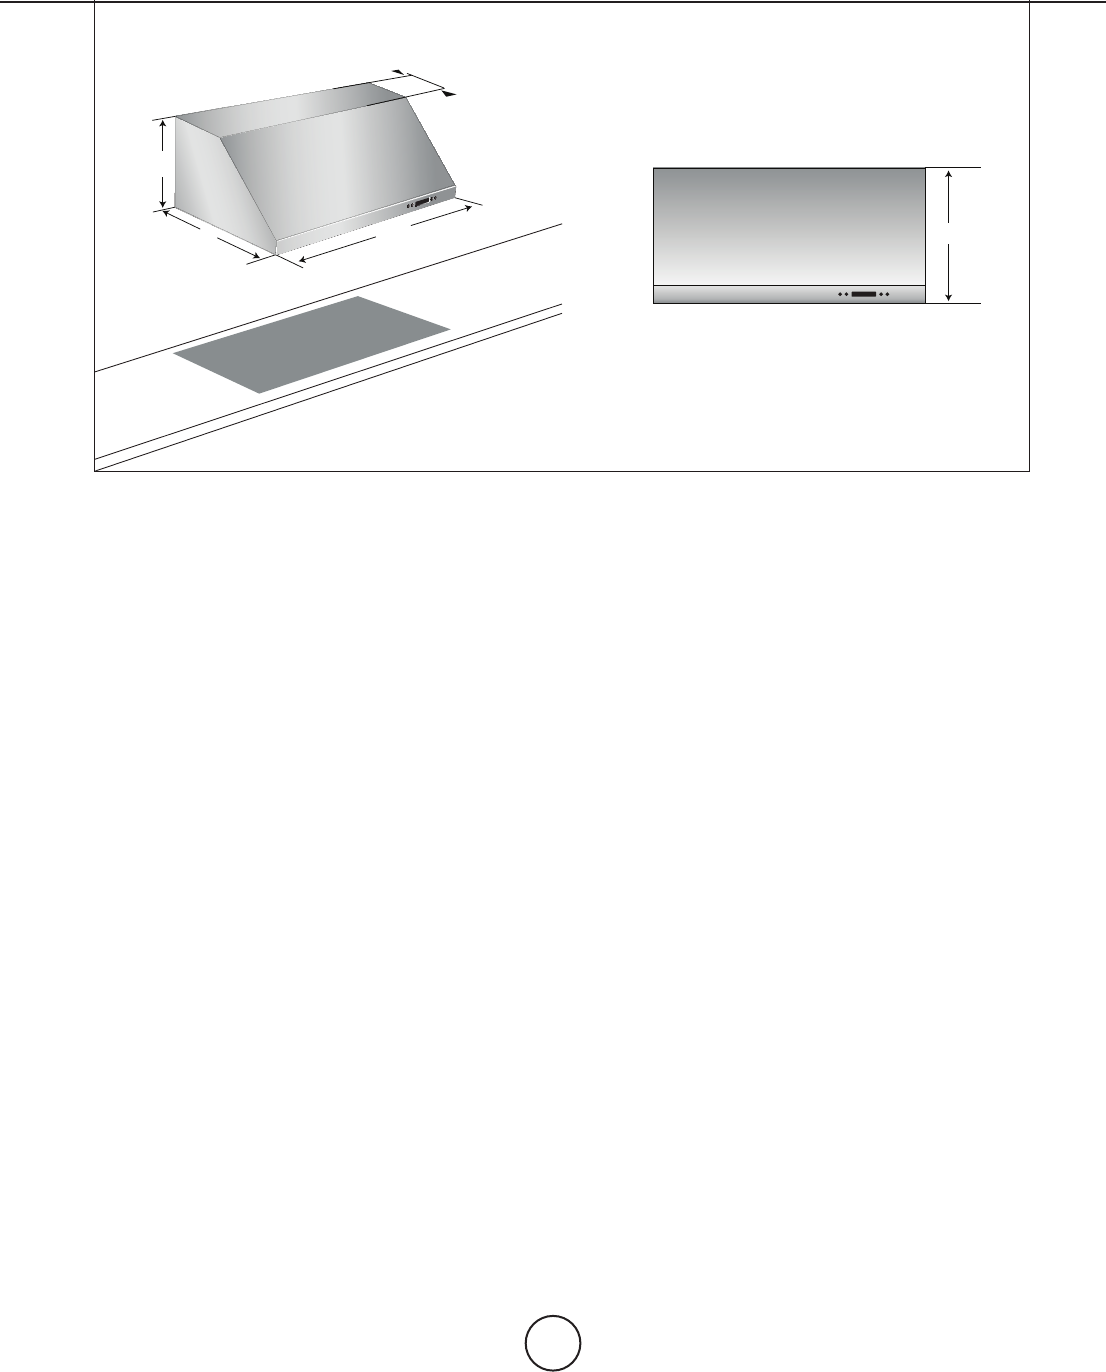
- Installing preparation 8
- Advance planning 8
- List of Materials 9
- Installation Instructions 10
- Installation instructions 11
- Use And Care Instructions 17
- Available Accessories 21
- Trouble Shooting 22
- List of Parts and Accessories 23
- Warranty 24
- PARA USO DOMÉSTICO ÚNICAMENTE 25
- Tabla de Contenidos 26
- ADVERTENCIA 29
- Nota para el Instalador 29
- Nota para el Cliente 29
- Funcionamiento 29
- REQUISITOS ELÉCTRICOS 30
- Planicación anticipada 31
- Lista de Materiales 32
- Descarga horizontal 34
- Descarga vertical con opción 34
- Dirección de la descarga: 37
- Instalación en Pared 38
- Instalación en gabinete: 38
- Caja de conexiones 39
- Cinta para el conducto 39
- Corriente de aire 39
- 1 Pánel de control 40
- 3 Filtro de grasa 40
- 1. Tecla Temporizador 41
- 2. Tecla de Iluminación 41
- Mantenimiento de la campana 43
- Mantenimiento de las lámparas 43
- Accesorios Disponibles 44
- Localización de fallas 45
- Lista de Partes y Accesorios 46
- Garantía 47
Related products and manuals for Cooker hoods Arietta PRO001MX30

 (53 pages)
 (44 pages)
© 2020, manymanuals.com. All rights reserved. | 0.703 s |
 Manymanuals.com
 Manymanuals.de
 Manymanuals.fr
 Manymanuals.it
 Manymanuals.pl
 Manymanuals.cz
 Manymanuals.es
 Manymanuals-pt.com
Comments to this Manuals